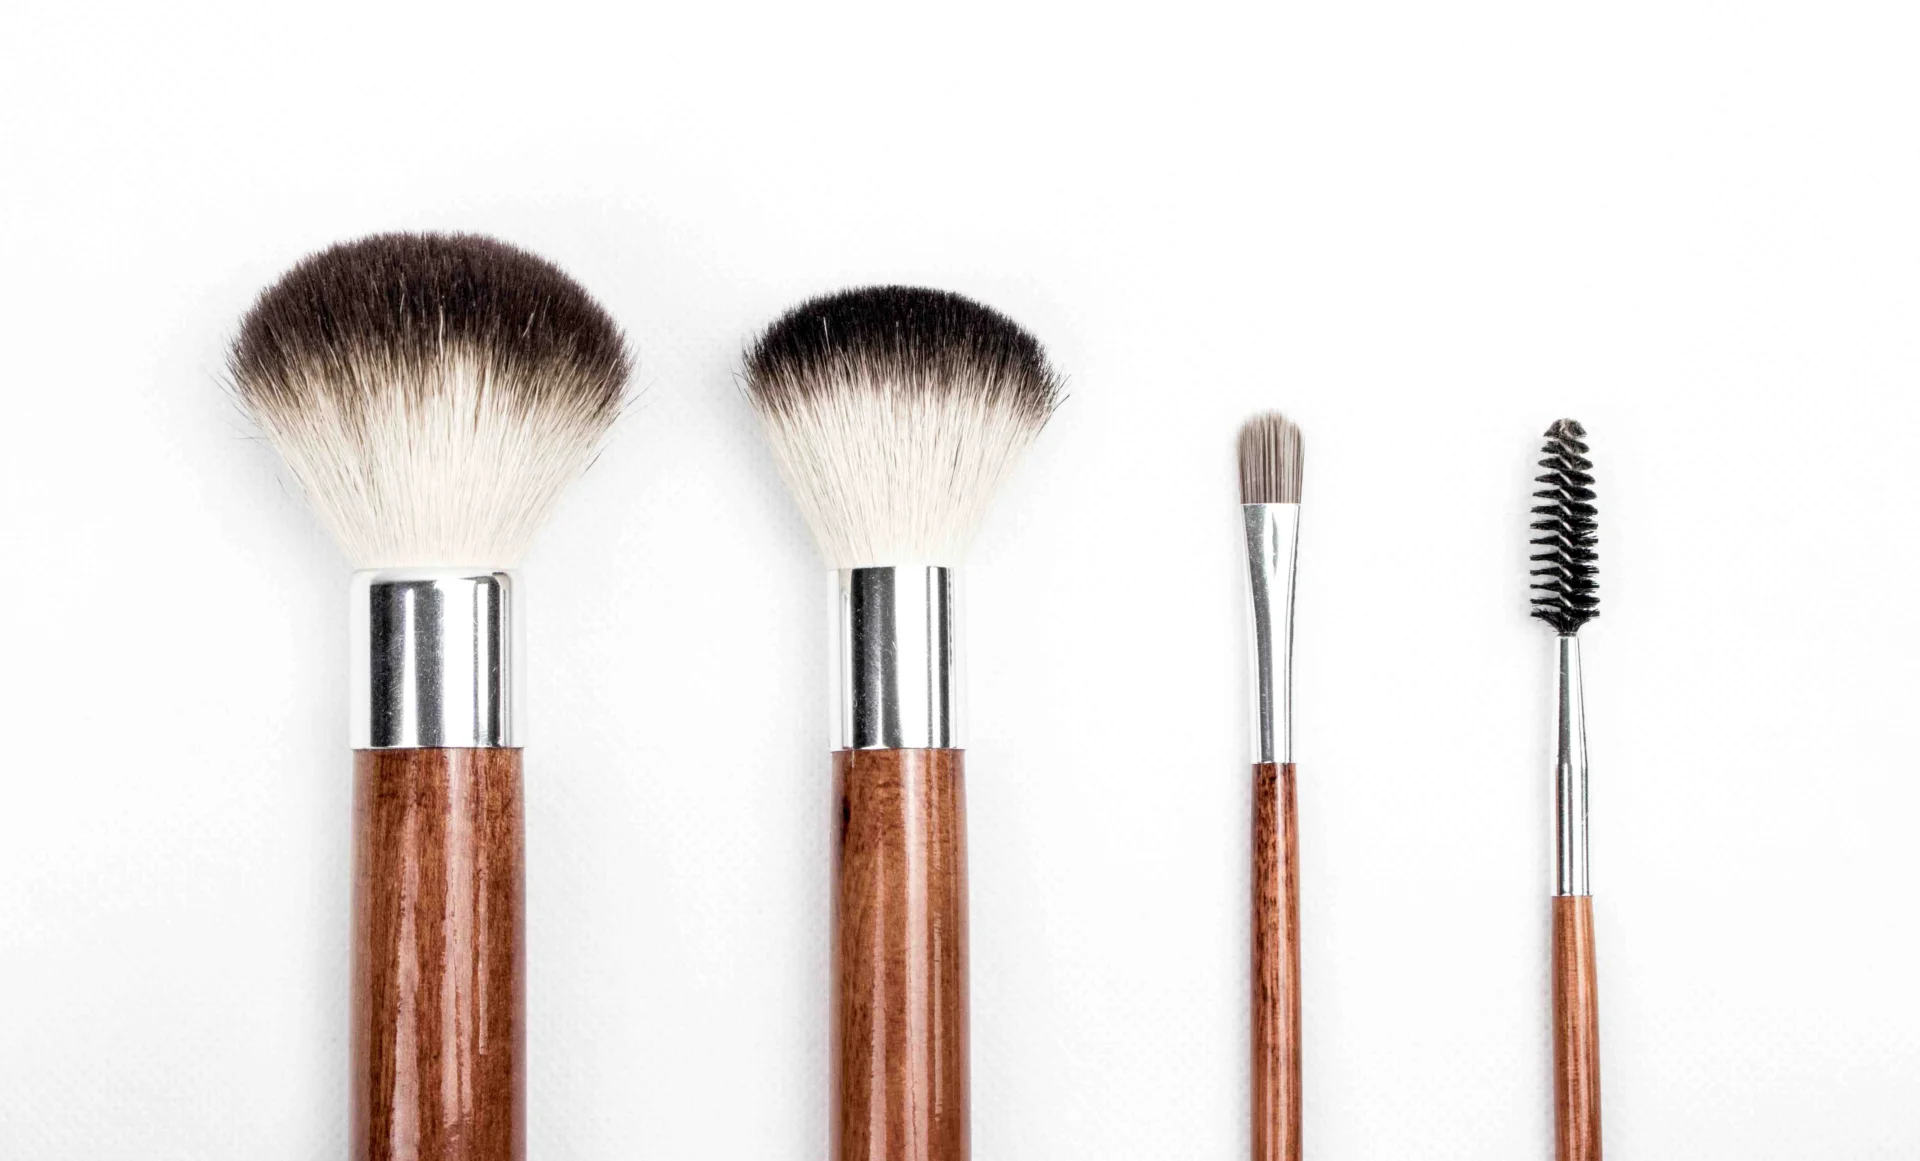
Old foundation settles deep into the bristles, so a brush can look clean on the outside while still holding makeup near the base. Learning how to clean makeup brushes properly takes only a few minutes, a little gentle shampoo and the right rinsing technique. Drying takes longer, and doing it carefully helps protect the brush from damage.
The short version: Rinse the bristle tips under lukewarm water, work in a mild shampoo or brush cleanser, and rinse until the water runs clear. Gently squeeze out the water, reshape the head, and leave the brush flat to dry with the bristles hanging over a counter edge.
How often you should wash your brushes depends partly on the products you use. The American Academy of Dermatology recommends every 7–10 days for makeup brushes generally, while Cleveland Clinic suggests different schedules for liquid, powder and eye makeup brushes.
How to Clean Makeup Brushes in 7 Steps
You need a mild shampoo or brush cleanser, lukewarm water and a clean towel. The method follows the American Academy of Dermatology’s guidance, including its warning against submerging the whole brush head because water can weaken the adhesive holding it together.
- Rinse the bristle tips. Hold the brush with its bristles pointing down and rinse the tips under lukewarm running water. Keep water away from the metal band (ferrule) and handle, where prolonged moisture can damage the adhesive.
- Add a little cleanser. Put a small drop of mild shampoo or brush cleanser in your palm. A large, dense face brush may need a little more.
- Work up a gentle lather. Swirl the bristles in small circles against your palm with light pressure. Don’t grind them into your skin or twist the brush head. Work the cleanser through the bristles without forcing it into the ferrule.
- Rinse thoroughly. Hold the brush bristles-down again and rinse until the water runs clear and no suds remain. If the water is still tinted with makeup, repeat the lather and rinse.
- Remove excess water. Use a clean towel to gently press moisture out of the bristles. Don’t wring, tug or twist them.
- Reshape the brush head. Smooth the bristles back into their usual shape with your fingertips while they’re still damp.
- Leave the brush flat to dry. Lay the handle on a clean towel with the bristles extending beyond the edge of a counter. This allows air to circulate around the brush head. Don’t stand a wet brush upright in a cup, since water can travel down toward the glue.
The final step matters as much as the wash. A brush that still feels damp near the base isn’t ready to go back into your makeup bag.
What Should You Use to Clean Makeup Brushes?
For most brushes, a gentle shampoo or dedicated brush cleanser will do. You don’t need an expensive cleaning kit.
The American Academy of Dermatology recommends gentle or clarifying shampoo and notes that plain soap and water can dry out bristles. Cleveland Clinic’s brush-cleaning advice also mentions baby shampoo or dish soap as possible options.
Experts differ on dish soap. Ulta’s makeup brush cleaning guide cautions that repeated use can strip natural brush bristles. If you’re unsure what your brush is made from, a gentle shampoo is a reasonable default.
For natural-hair brushes or brushes with special care requirements, follow the manufacturer’s instructions first.
For a full wash, skip household all-purpose cleaners and improvised treatments. Rubbing alcohol, vinegar mixtures and olive-oil cleaning hacks aren’t necessary for the basic method described by AAD and Cleveland Clinic. Purpose-made quick-cleaning products are a separate option, but they don’t replace a thorough wash.
How to Clean a Foundation Brush With Stubborn Buildup
Foundation and concealer can cling to densely packed bristles, even after an initial wash.
If your brush still feels coated, repeat the gentle lather and rinse. Use your fingertips to work the cleanser through the bristles without pressing hard against the base.
A silicone brush-cleaning mat can help loosen stubborn product, but it’s optional. If you use one, keep the pressure light to avoid pulling or bending the bristles.
Check the rinse water and how the brush feels. If the water is clear, the cleanser is gone and the bristles no longer feel coated or sticky, you don’t need to keep scrubbing just to remove every trace of staining.
Some pigment may remain visible after washing. Rather than scrubbing repeatedly to remove the color, check for remaining product buildup and follow the brush manufacturer’s care instructions.
If residue remains, try another gentle wash rather than reaching for a stronger household cleaner. A brush that stays stiff, sheds heavily or no longer holds its shape may need replacing.
How Long Do Makeup Brushes Take to Dry?
Longer than the washing itself.
Cleveland Clinic suggests leaving brushes to dry overnight. Beauty retailers give different estimates depending on brush size and density, with larger face brushes sometimes taking considerably longer than smaller eye brushes.
Rather than relying on one exact number, check whether the entire brush head is dry.
The outside of a dense brush may feel dry while moisture remains closer to the base. Check carefully between the bristles. They shouldn’t feel damp, and the brush shouldn’t have a musty smell.
Avoid using a hair dryer or heater to speed things up. Brush-care manufacturers caution that heat can damage bristles or adhesive.
Don’t put damp brushes into a closed makeup bag or storage container. Give them enough time to dry fully before using or storing them.
How Often Should You Clean Makeup Brushes?
There isn’t one cleaning schedule that every expert uses.
The American Academy of Dermatology recommends washing makeup brushes every 7–10 days. Cleveland Clinic gives different guidance depending on the products used, while Ulta recommends more frequent cleaning for some brush types.
| Brush used for | Published recommendations | Practical approach |
| Foundation, concealer and cream products | Cleveland Clinic: weekly. AAD: every 7–10 days. Ulta: after every 1–2 uses. | Wash about weekly, or sooner when product buildup is noticeable. Ulta recommends a more frequent routine for these brushes. |
| Powder, blush and bronzer | Cleveland Clinic: about monthly. AAD: every 7–10 days. Ulta: every 1–2 weeks. | Washing every 7–10 days follows AAD’s general guidance. Cleveland Clinic suggests approximately monthly cleaning for most dry-product brushes, so the recommendations differ. |
| Eye shadow and eyeliner | Cleveland Clinic: every two weeks. AAD: every 7–10 days. Ulta: weekly for powder shadow brushes and more often for cream shadow or liner brushes. | Choose a routine appropriate to the product and frequency of use. AAD’s 7–10-day interval is a simple general starting point. |
| Lip products | Ulta recommends cleaning after every use; the cited AAD and Cleveland Clinic guidance doesn’t give a separate lip-brush interval. | Follow Ulta’s after-every-use guidance, particularly when switching products or users. |
Cleaning schedules vary by source, so use these intervals as guidance rather than strict rules. The practical approaches are editorial interpretations of the published recommendations.
Brushes pick up product residue, skin oil and other debris through regular use. Cleveland Clinic explains that dirty makeup brushes may contribute to skin irritation or breakouts, and that bacteria carried on brushes can pose a concern, particularly around damaged skin.
If you’d rather remember one simple routine, AAD’s recommendation of every 7–10 days is a useful starting point. Clean sooner when a brush has obvious buildup or needs cleaning between products. Removing surface color with a quick-cleaning product between makeup applications is different from giving a brush a full wash.
Common Makeup Brush Cleaning Problems and Fixes
If your brush feels stiff, sheds bristles or still looks dirty after washing, start by checking the problem.
| Problem | Possible cause | What to do |
| Foundation remains in the bristles | Cleanser hasn’t reached the dense bristles, or washing stopped too soon. | Repeat a gentle lather and rinse. Avoid aggressive scrubbing. |
| Bristles feel stiff or crunchy | Leftover cleanser or makeup residue. | Rinse thoroughly again and allow the brush to dry flat. |
| The brush sheds after washing | Adhesive damage, wear or loose bristles. | Check whether shedding continues. Replace the brush if the head becomes loose or significant shedding persists. |
| The brush smells musty | Moisture may have remained in the bristles during storage. | Wash again and dry completely. Replace it if the smell persists. |
| The head loses its shape | Bristles may have been twisted, pressed out of shape or become worn. | Reshape while damp. If the brush won’t return to a usable shape, consider replacing it. |
Not every problem can be fixed with another wash.
If a brush head is loose, bristles keep falling out, or an unpleasant smell remains after careful cleaning and drying, replacing the brush is generally more sensible than continuing to use a damaged tool.
When Should You Replace a Makeup Brush?
A makeup brush doesn’t have to be replaced simply because you’ve owned it for a certain number of months.
Cleveland Clinic recommends replacing brushes that become frayed, worn or lose their shape.
Look for signs such as persistent shedding, bristles that remain stiff after cleaning, a brush head that no longer keeps its shape, or a loose ferrule.
A cracked handle or an odor that doesn’t disappear after a thorough wash and complete drying can also be a reason to replace it.
A good brush that still holds its shape, cleans well and works comfortably doesn’t need replacing just to follow a calendar.
What About Makeup Sponges?
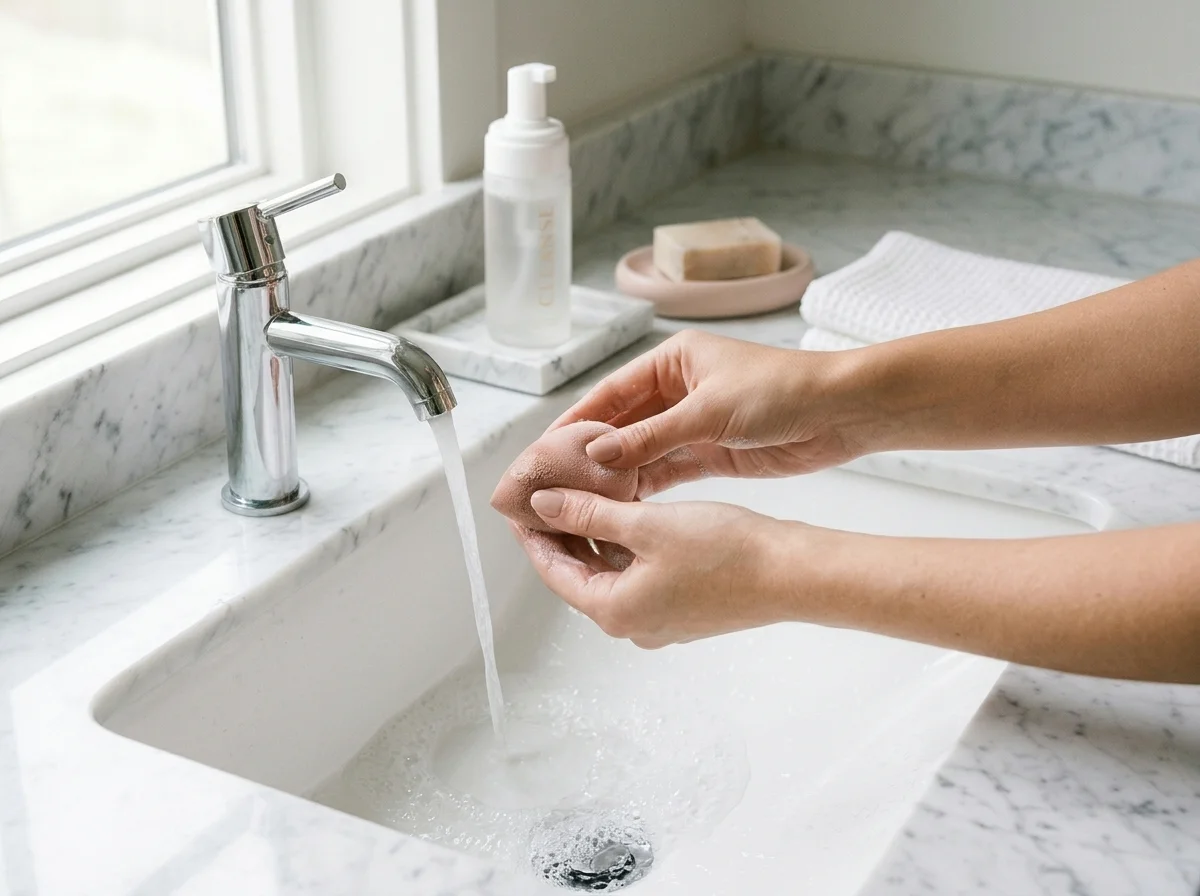
Makeup sponges need different care from brushes. Their porous material can hold moisture and makeup residue, so cleaning and thorough drying are particularly important.
To clean a reusable makeup sponge, wet it, work in a little gentle cleanser, then squeeze and rinse it repeatedly until the makeup and cleanser are gone. Let it air-dry completely in a well-ventilated place before storing it.
Cleveland Clinic cautions that damp makeup sponges can encourage microbial growth. A dermatologist quoted in TODAY’s beauty sponge cleaning guide also discusses the risk of storing sponges while they’re wet.
Replace a sponge when it begins to break down, develops an odor that doesn’t go away after washing and drying, or shows signs of mold. Unlike brushes, sponges may need replacing more regularly, depending on their condition and use.
Avoid sharing makeup brushes. The American Academy of Dermatology advises against it. If you develop persistent skin irritation that you suspect is related to makeup or your tools, speak with a board-certified dermatologist. Eye pain, marked redness or discharge should also be assessed by a healthcare professional.
For everyday care, the essentials are simple: wash gently, keep water away from the ferrule and let your brushes dry fully before putting them away.