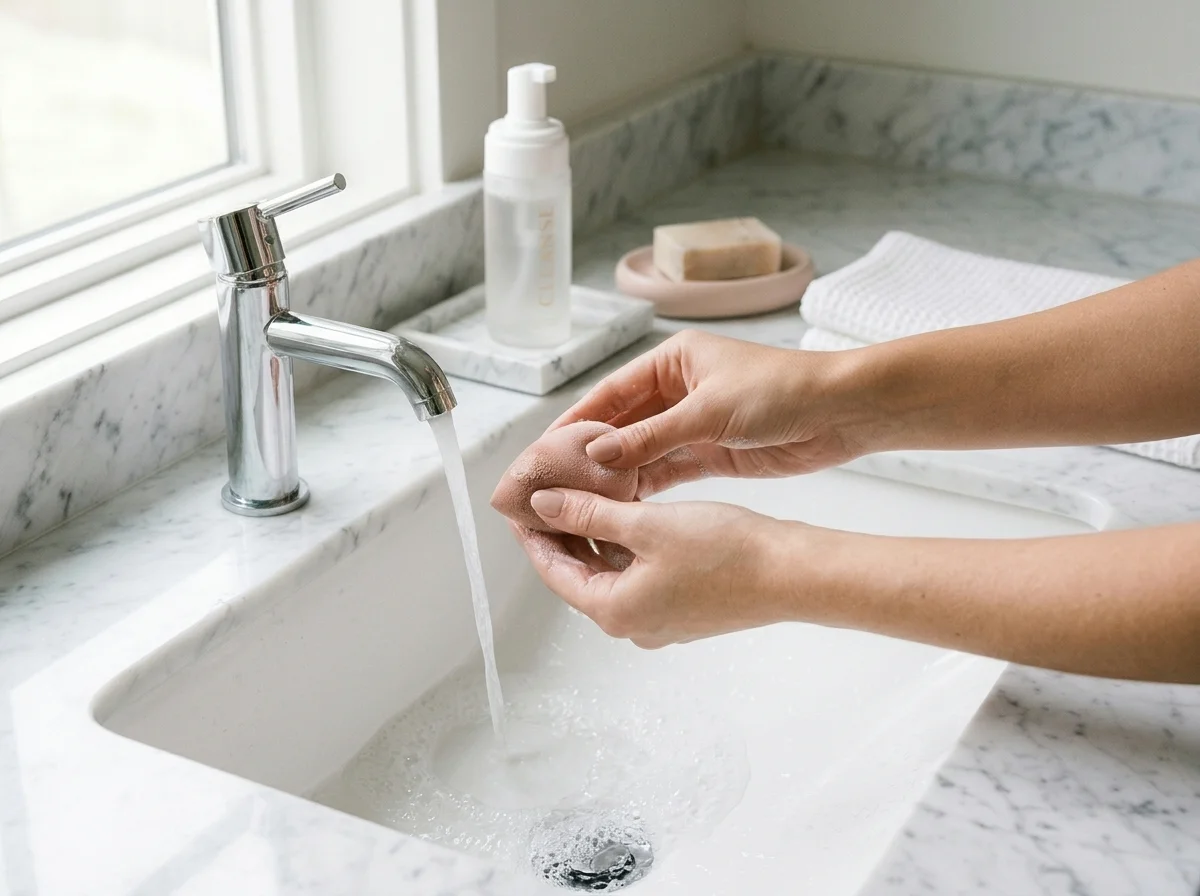
Wash a makeup sponge with warm water and a few drops of mild soap or cleanser. Rinse until the water runs clear, squeeze out the excess without twisting, and let it air-dry in the open. The American Academy of Dermatology recommends doing this after every use. Replacement timing is less clear-cut: manufacturer recommendations vary, and visible wear or persistent odor can be reasons to replace a sponge sooner.
How to Clean a Makeup Sponge, Step by Step
The AAD describes washing in a bowl of warm soapy water, while Beautyblender applies cleanser directly to a wet sponge. The steps below work for common reusable foam makeup sponges, including Beautyblender-style sponges. Check the manufacturer’s instructions if your sponge requires special care.
- Wet the sponge thoroughly with lukewarm to warm water.
- Add a few drops of mild soap or a suitable cleanser.
- Gently squeeze and release the sponge to work the soapy water through the foam, massaging it for about 15 seconds.
- Rinse under warm running water, squeezing gently as you go, until the water runs clear and no suds remain. If foundation is still coming out, lather and rinse again.
- Press out the excess water with your hands. Avoid twisting, which can tear the foam.
- Set the sponge on a clean paper towel and let it air-dry.
What Should You Use to Clean a Makeup Sponge?
A few drops of liquid cleanser or soap is all the AAD calls for. Sponge-specific cleansers are an option, and Beautyblender recommends its own, but nothing in the AAD’s guidance says you need a dedicated product to clean a sponge.
Dish soap is where advice splits. Some publishers suggest it, while Beautyblender warns that it may be too harsh for its foam. Because product-care advice differs, a mild cleanser or one recommended by your sponge’s manufacturer is the simpler choice.
Harsh household cleaners are a different matter. They aren’t intended for something you’ll repeatedly press against your face, and soaking a makeup sponge in them isn’t worth trying.
How Often Should You Wash a Makeup Sponge?
After every use, according to the AAD, which notes that dirty brushes and sponges can contribute to breakouts, rashes and skin infections. Beautyblender also favors cleaning after use, although its guide suggests a weekly deep clean as a minimum and mentions spray cleansers for touch-ups. The AAD’s recommendation is more straightforward: wash the sponge after every use.
Part of the case for frequent washing comes from how sponges behave: they’re porous and often left damp. A peer-reviewed UK lab study of used cosmetics found higher bacterial loads on beauty sponges than on the other cosmetic products tested, and 93% of the sampled sponges had never been cleaned. The study measured contamination, not infections, and it didn’t test cleaning methods or replacement dates.
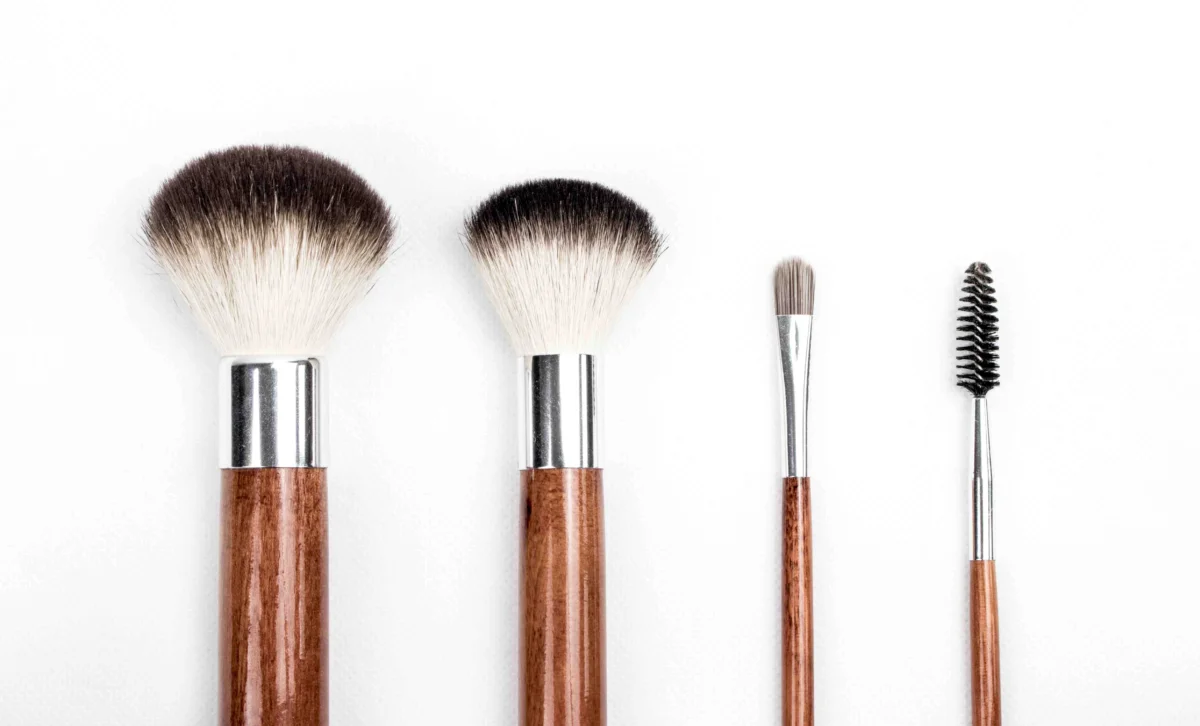
Brushes follow a different schedule. The AAD suggests washing them every 7 to 10 days, and they need different handling because water that seeps into the base can loosen the glue. The details are in our guide to how to clean makeup brushes.
How to Dry and Store Your Makeup Sponge
Foam soaks up water and holds on to it, so give a washed sponge time to dry. Leave it on a clean paper towel, as the AAD suggests, or in an open holder where air can circulate. Beautyblender warns against putting a damp sponge in a makeup bag or another enclosed container, where moisture can encourage mold and bacteria.
Once it’s completely dry, store it somewhere clean and dry, out of direct sunlight. Those are also the conditions the AAD recommends for storing makeup in general. None of this sterilizes the sponge. It simply helps prevent it from sitting damp between uses.
And don’t lend it out. The AAD advises against sharing makeup applied directly to the skin or with brushes and sponges.
When Should You Replace a Makeup Sponge?
There’s no universal answer. The AAD doesn’t set a replacement date for sponges, and manufacturer advice varies, even within one brand.
Beautyblender’s replacement guide recommends around three months, while another page suggests three to six months, depending on use. Those are manufacturer recommendations for its product, not universal medical standards. Other brands may give different advice.
Condition matters, too. Replace a sponge that:
- shows spots that appear to be mold
- still smells unpleasant after washing and drying completely
- is torn, crumbling or coming apart
- has lost its shape or no longer blends makeup properly
Stains are a grayer area. Foundation can leave lasting discoloration, and a stain alone doesn’t establish whether a sponge is contaminated. Beautyblender does list stubborn stains among its reasons to replace a sponge, so the decision depends on the sponge’s condition and how well it cleans.
Mold, persistent odor and damage are clearer reasons to replace it. If washing no longer fixes the problem, another round of scrubbing probably isn’t the answer.
Makeup Sponge Cleaning Mistakes to Avoid
Putting a sponge away damp is an easy mistake, which is why drying matters as much as washing.
Wringing and aggressive scrubbing can also shorten its life. Twisting the sponge or grinding it against your palm can tear the foam, so squeeze and massage gently instead.
Then there are the internet hacks. Microwaving is the best known, along with boiling, bleach and vinegar soaks. These methods aren’t part of the AAD’s routine cleaning guidance, and Beautyblender cautions that microwaving can damage its sponges. There’s no need to rely on an unverified sanitizing hack when gentle washing is the recommended everyday approach.
A good routine is simple: clean the sponge after each use, let it dry fully, and replace it when wear or signs of contamination make continued use questionable.