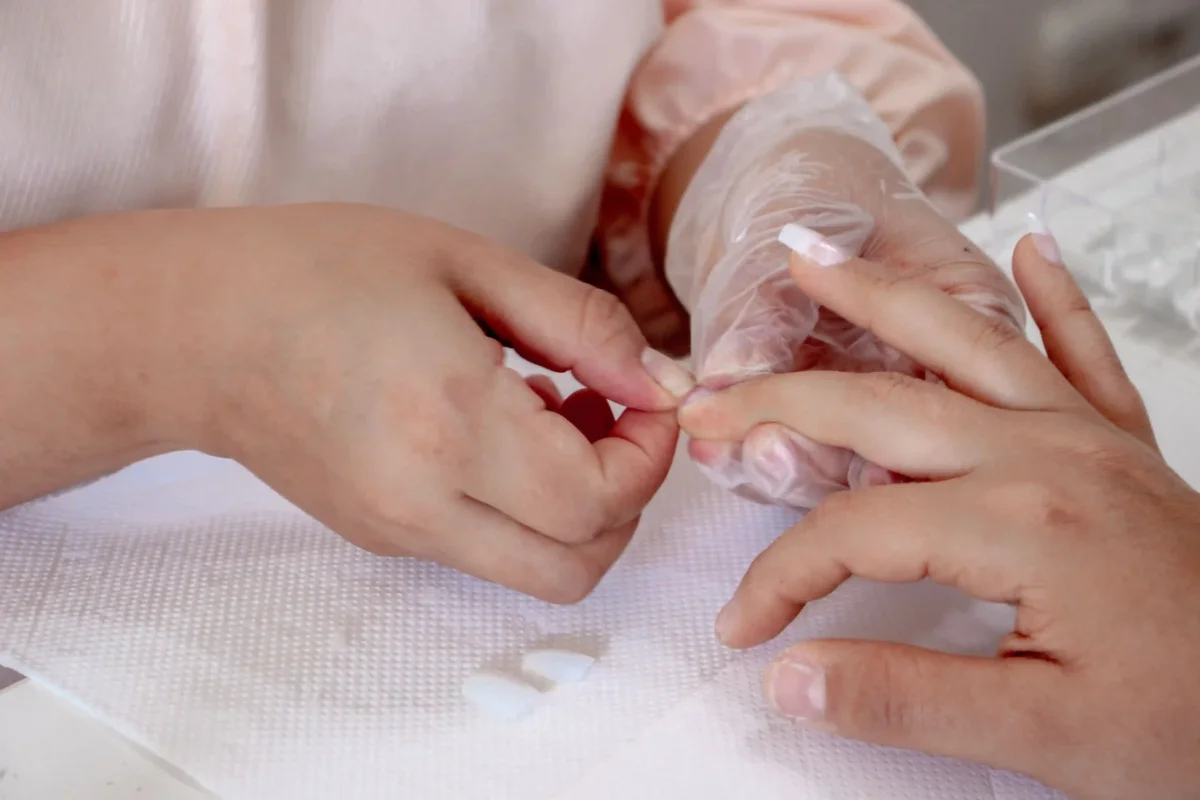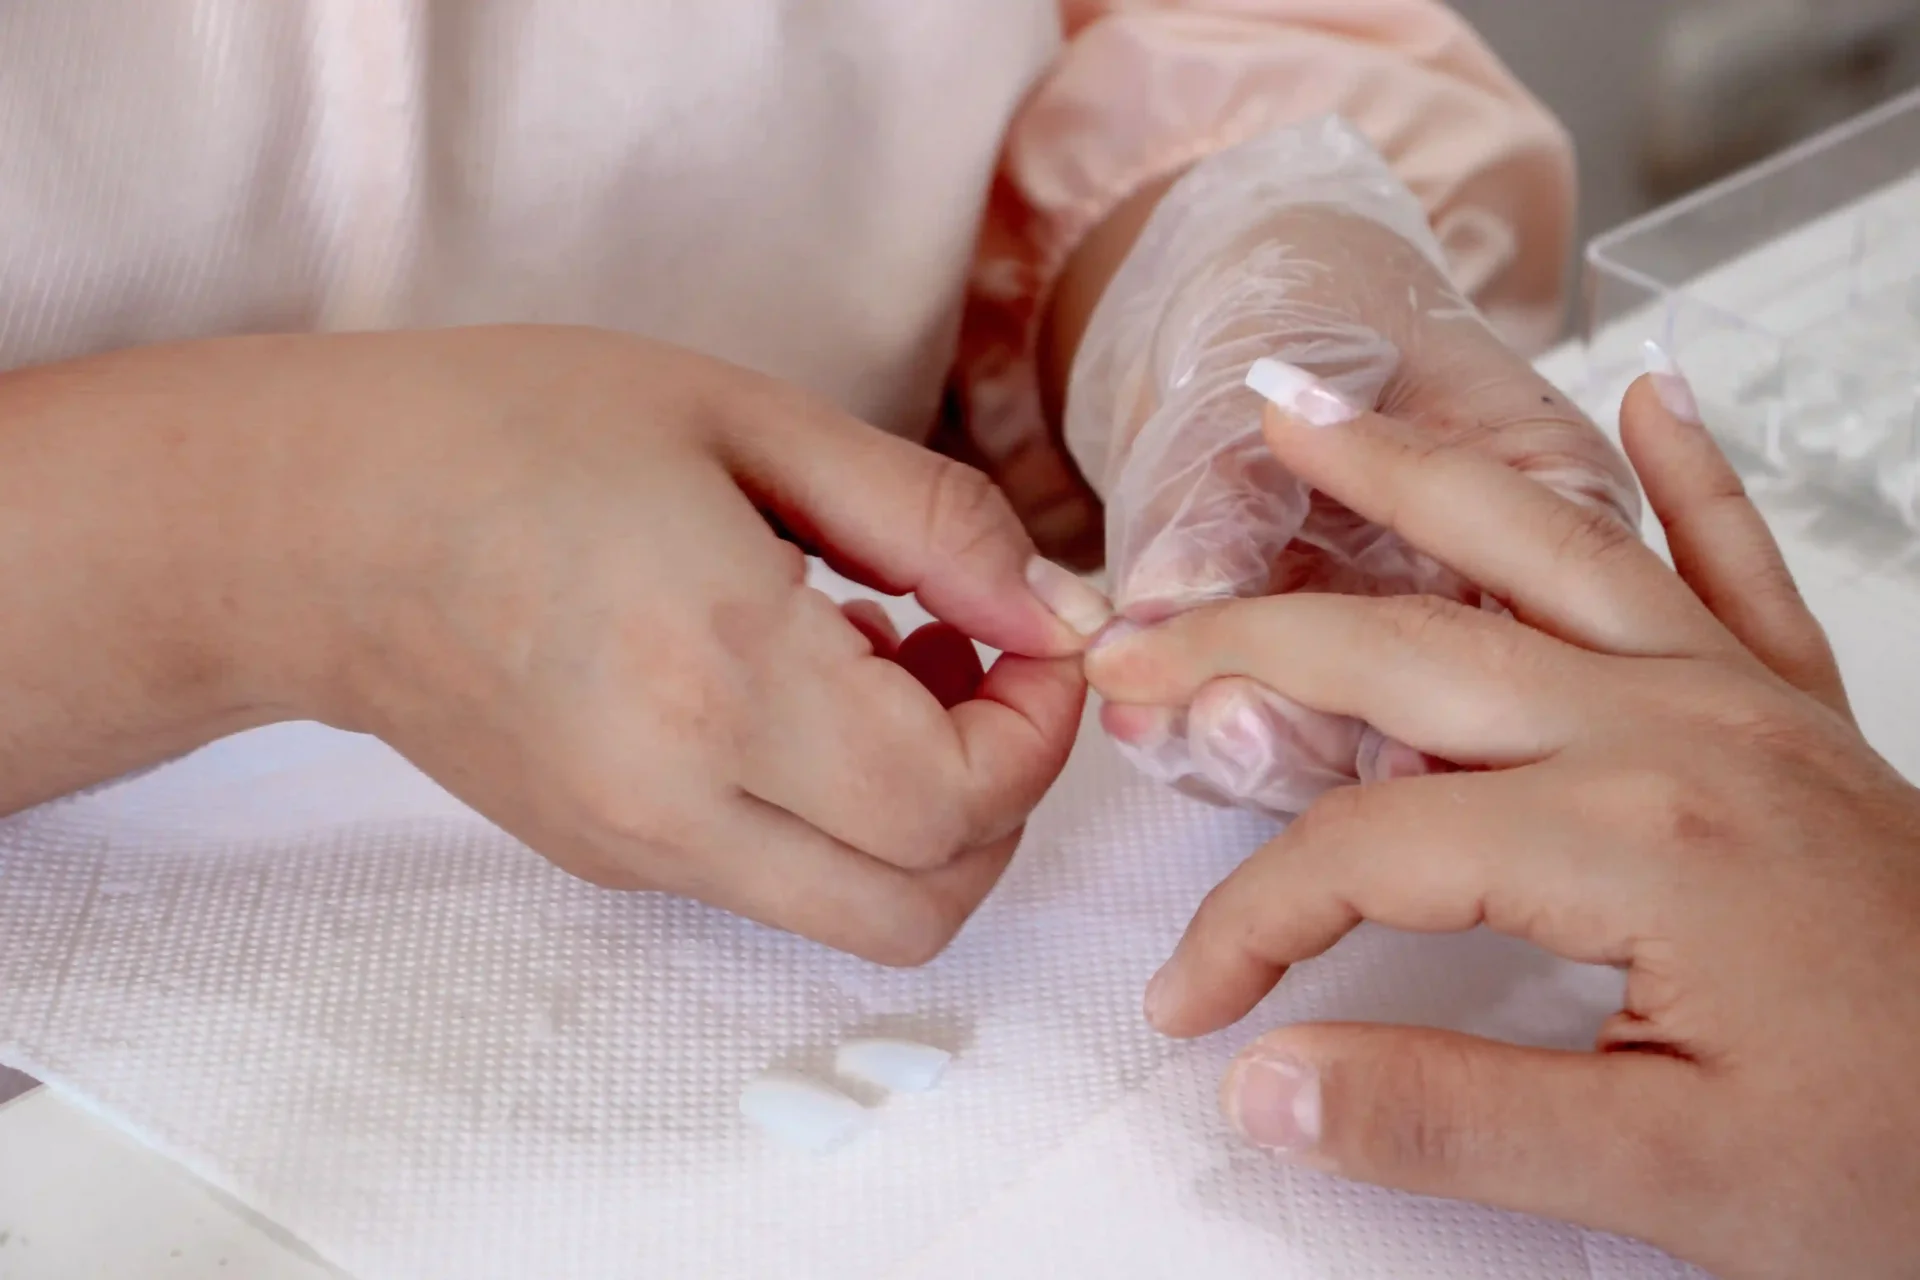
Acrylic nails can be removed by soaking them in acetone, and that is the approach nail-product manufacturers and professional educators describe. Still, removal is generally safer in the hands of a nail technician, especially if you aren’t sure what product you’re wearing or your natural nails are already damaged. NSI, a professional nail-product manufacturer, advises that a qualified technician should remove acrylics. Healthline likewise identifies situations where professional removal is the better choice.
This guide summarizes published advice from manufacturers, nail educators, dermatology organizations, and safety specialists. It is not based on firsthand removal testing. Where published guidance doesn’t establish a safe technique for beginners, that limitation is explained.
Acrylic Nails vs. Gel and Dip: Know What You Have
Removal instructions depend on the product, and acrylic methods should not be applied to every artificial nail.
| Product | What it is | Can it be soaked off? |
|---|---|---|
| Acrylic | A liquid monomer and polymer powder mixed and sculpted onto the nail (Cleveland Clinic; OPI) | OPI describes acrylics as soakable. |
| Gel polish | Applied in coats and cured under a UV or LED lamp (Cleveland Clinic) | Soak-off gel polish can be removed with its own method. The American Academy of Dermatology describes an acetone method for gel polish, not acrylic enhancements. |
| Hard gel | A stronger gel system used for nail extensions | No. NSI and OPI say hard gel cannot be soaked off and requires filing by a trained professional. |
| Dip powder | A resin or adhesive system combined with colored powder (Cleveland Clinic) | Some dip systems can be soaked off, but removal depends on the product. Don’t assume acrylic instructions are interchangeable. |
| Hybrid or unfamiliar enhancements | Products may combine different nail systems | Removal depends on the actual material used. Ask the technician who applied it. |
You may not be able to identify the product just by looking at it. The sources reviewed don’t establish a reliable visual identification test. If you’re unsure whether you have soakable acrylic, ask the technician who applied it rather than guessing.
When Professional Removal Is the Better Option
A nail technician is generally the better choice when:
- Your acrylics are freshly applied or unusually thick.
- You aren’t sure which nail product you have.
- Your natural nails were damaged during earlier removal attempts.
- You’re unsure how to remove the product without excessive filing or force.
- The acrylic doesn’t soften as expected.
Healthline identifies several of these situations as reasons to seek professional removal.
Pain, swelling, pus, or other possible signs of infection require a different response. Stop attempting removal and seek medical advice rather than treating a possible infection as a routine salon problem.
The American Academy of Dermatology advises consulting a dermatologist about concerning nail changes, swelling, or pain, particularly for people with diabetes or poor circulation.
A salon can help remove an enhancement, but a nail technician cannot diagnose or treat an infection.
How Acrylic Removal Works: What Nail Professionals Recommend
The following process reflects published guidance from professional nail-product manufacturers and nail educators. These sources primarily address technicians or consumers using their products, and they don’t provide a universally tested procedure for beginners.
Materials. NSI lists acetone, removal wraps, orangewood sticks, a nail file, and cuticle oil. Kiara Sky describes using acetone-soaked wipes secured with foil. Healthline discusses pure acetone and protecting the surrounding skin with petroleum jelly.
Shortening extensions. NSI and OPI describe shortening long extensions before removal. The important limitation is avoiding the natural nail. Marie Claire UK cautions against cutting into the natural nail.
Removing the glossy surface. Kiara Sky and NSI describe filing away the glossy top layer to help acetone reach the product.
Professional technicians may use electric nail files, but this guide doesn’t recommend home nail drills or aggressive filing because they can damage the natural nail.
Acetone-soaked pads and foil. NSI, OPI, Kiara Sky, and nail educators quoted by Beauty Launchpad describe placing acetone-saturated pads against acrylic enhancements and securing them with foil.
The foil holds the pad against the nail. Beauty Launchpad’s professional source favors wraps over open-bowl soaking partly to reduce unnecessary skin exposure.
How long does soaking take? Published estimates differ. OPI describes approximately 20 minutes, NSI describes around 30 minutes, Kiara Sky advises at least 10 minutes, and a nail educator quoted by Beauty Launchpad gives approximately 20–30 minutes depending on the product.
These are source-specific estimates, not a universal schedule. Acrylic thickness, product chemistry, and how the enhancement was applied can all change the time required.
Checking whether the acrylic has softened. NSI describes checking one nail after soaking, while OPI and Kiara Sky say softened acrylic can become gummy or gooey.
Handling softened product. Kiara Sky describes gently moving softened acrylic away without force. Beauty Launchpad quotes Young Nails co-founder Greg Salo warning against prying the enhancement off or cutting away lifting product with nippers.
If the acrylic remains firmly attached, professional sources recommend additional soaking rather than forceful removal. NSI and OPI describe checking again after another period of soaking.
These techniques should not be treated as permission to scrape, pry, or file into the natural nail. If resistance persists or you experience pain, stop and seek professional assistance.
Acetone Safety Precautions
Acetone is useful for removing certain nail enhancements, but it requires careful handling.
Some nail-removal guides discuss acetone hazards, although their precautions vary. The guidance below draws on Poison Control’s consumer advice and chemical safety documentation.
- Flammability: Acetone is highly flammable. Keep it away from flames, cigarettes, sparks, heated appliances, and other ignition sources. Do not heat acetone directly or indirectly, including in a warm-water bath or microwave. Chemical safety documentation confirms its flammability hazards.
- Ventilation: Use acetone-containing nail-removal products in a well-ventilated area. Poison Control specifically recommends ventilation during nail-polish remover use.
- Skin exposure: Acetone can irritate and dry the skin. Avoid unnecessary contact and follow the product’s directions. Poison Control notes that a thin layer of petroleum jelly around the cuticles can help protect surrounding skin from acetone-containing products.
- Eye exposure: Avoid contact with your eyes. If remover gets into an eye, immediately flush it with plenty of room-temperature water for 15–20 minutes, then contact Poison Control for guidance.
- Product instructions: Read the label of the actual removal product you’re using. Professional products and ordinary consumer removers may differ in formulation and instructions.
- Storage: Keep remover securely stored away from children and heat sources.
If someone has a concerning exposure, follow the product-label first-aid directions and seek advice from a poison center or healthcare professional. In the United States, Poison Control can be reached at 1-800-222-1222.
These precautions do not make every acrylic removal attempt suitable for home use.
What If the Acrylic Won’t Come Off?
If acrylic remains firmly attached after soaking, don’t pull, pry, or bite it off. Healthline warns against forceful removal and metal tools, while Marie Claire UK advises repeating the soaking process rather than pulling at resistant material.
However, repeatedly soaking a product that doesn’t respond as expected is not a reason to continue indefinitely. If the enhancement doesn’t soften, you cannot confidently identify the material, or removal becomes painful, stop and arrange professional removal.
A trained nail technician can assess the enhancement and determine the appropriate removal method without relying on guesswork.
Can You Remove Acrylic Nails Without Acetone?
The sources reviewed do not establish a consistently reliable acetone-free method for removing intact acrylic enhancements at home.
Several alternative methods circulate online, but their effectiveness and safety are uncertain.
- Non-acetone nail-polish remover. Marie Claire UK says ordinary non-acetone remover isn’t an effective substitute for dissolving acrylic. IPSY similarly recommends pure acetone for the conventional soak-off technique.
- Warm water, soap, or oil. Healthline describes a water-and-oil method that may help with acrylics that are already lifting. However, Marie Claire UK disputes the effectiveness of soap-and-oil soaking and warns about damaging the natural nail by pulling off loose enhancements. These conflicting claims do not establish a dependable alternative.
- Dental floss. Marie Claire UK warns against using floss to remove acrylics because it can damage the underlying nail.
- Cards, metal tools, or prying. Healthline advises against forcefully lifting artificial nails from the natural nail.
If you cannot use acetone, professional removal is a better option than trying unverified household methods.
Warning Signs: When to Stop and Get Help
Difficult-to-remove acrylic isn’t the same as a medical complication. However, certain symptoms should not be treated as ordinary removal difficulties.
Stop attempting removal and seek medical advice if you develop:
- Significant or increasing pain
- Swelling around the nail
- Redness, pus, or other possible signs of infection
- A concerning nail injury
- A rash, itching, or other suspected allergic reaction
The AAD notes that nail changes, swelling, and pain can warrant evaluation by a dermatologist.
Allergic contact dermatitis associated with acrylate nail products is also documented in published dermatology research. Symptoms alone cannot establish the cause, so avoid attempting to diagnose an allergy or infection yourself.
Separately, seek a qualified nail technician if the enhancement won’t soften, you’re unsure what product you’re wearing, or you cannot continue without force.
Medical symptoms call for a healthcare professional; difficult product removal without medical symptoms calls for a trained nail technician.
How to Care for Nails After Removal
Natural nails may feel thinner, drier, or more flexible after artificial nail wear and removal. A nail professional quoted by Who What Wear notes that nails can feel weaker afterward.
Reasonable aftercare includes:
- Moisturizing. NSI and Kiara Sky recommend cuticle oil after removal. Healthline suggests cuticle oil or hand cream, while the AAD recommends moisturizing nails and surrounding skin with petroleum jelly or a similar product.
- Avoiding excessive buffing. Kiara Sky cautions that nails may be sensitive after removal, so aggressive smoothing isn’t advisable.
- Giving nails a break. The AAD explains that artificial nail wear can leave natural nails thinner and recommends allowing time for recovery.
These measures support ordinary nail care but cannot guarantee rapid repair.
If nails remain painful, swollen, or otherwise concerning, seek professional medical evaluation.
Conclusion
Acetone-based removal is the approach described by professional acrylic-nail manufacturers, but the process depends on the product, the condition of the natural nails, and careful handling.
There is no universal soaking time or proven damage-free home method. Never force acrylic off, heat acetone, or continue removing an enhancement that causes pain.
When you’re unsure what you have or how to proceed safely, professional nail removal is the better choice.